
Farmstead Chronicles
Homemade Strawberry Jam Recipe — 2 Faithful Ways to Make It
Jul
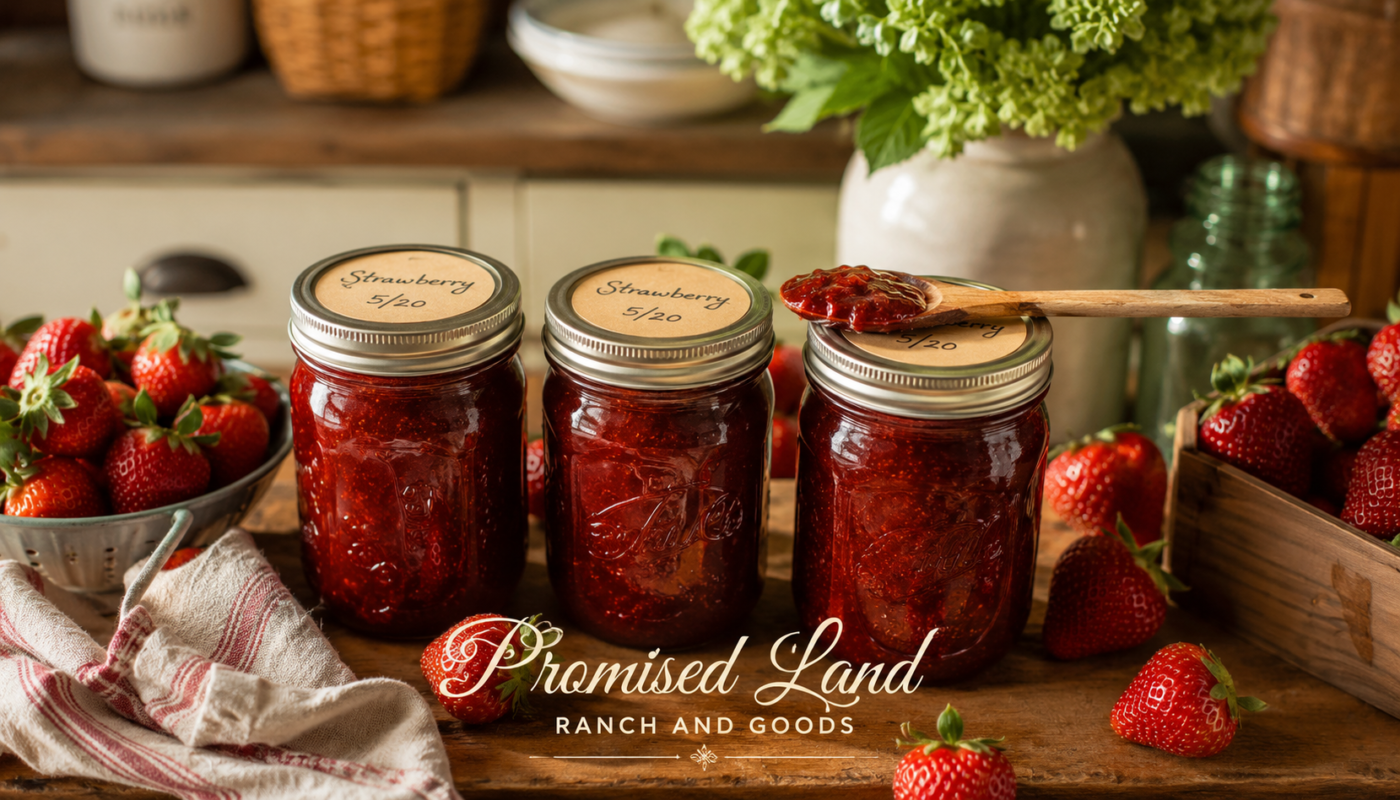
The first batch of strawberry jam I ever made was for my husband.
Not because I had always wanted to be a jam maker. Not because I had some grand vision of a farmstead pantry lined with jewel-toned jars. I made it because he loves strawberry jam in a way that is almost unreasonable, and I wanted to give him something made with my own hands that he could not get from a grocery store shelf.
That first batch was not perfect. The set was a little soft. The color was beautiful but the consistency was not quite what I had imagined. And when he spread it on his toast the next morning and looked up at me with that expression that husbands get when their wives have done something that moved them — I decided I was going to keep making it until I got it exactly right.
This summer I am making more. More jars, more batches, more of that particular kind of quiet satisfaction that only comes from standing over a pot of something that started as fruit from the earth and ended as something your family will eat all winter long.
Today I want to share the homemade strawberry jam recipe we use here at Promised Land Ranch — actually two versions, because I think both deserve a place in your kitchen and your repertoire. One uses pectin for a reliable beginner-friendly set. One uses nothing but strawberries, sugar, and time for a deeper old-fashioned flavor that your grandmother would recognize.
Both are worth knowing. Both are worth making. Let’s get into it. 🍓
1. Why Strawberry Jam Was My First Yes
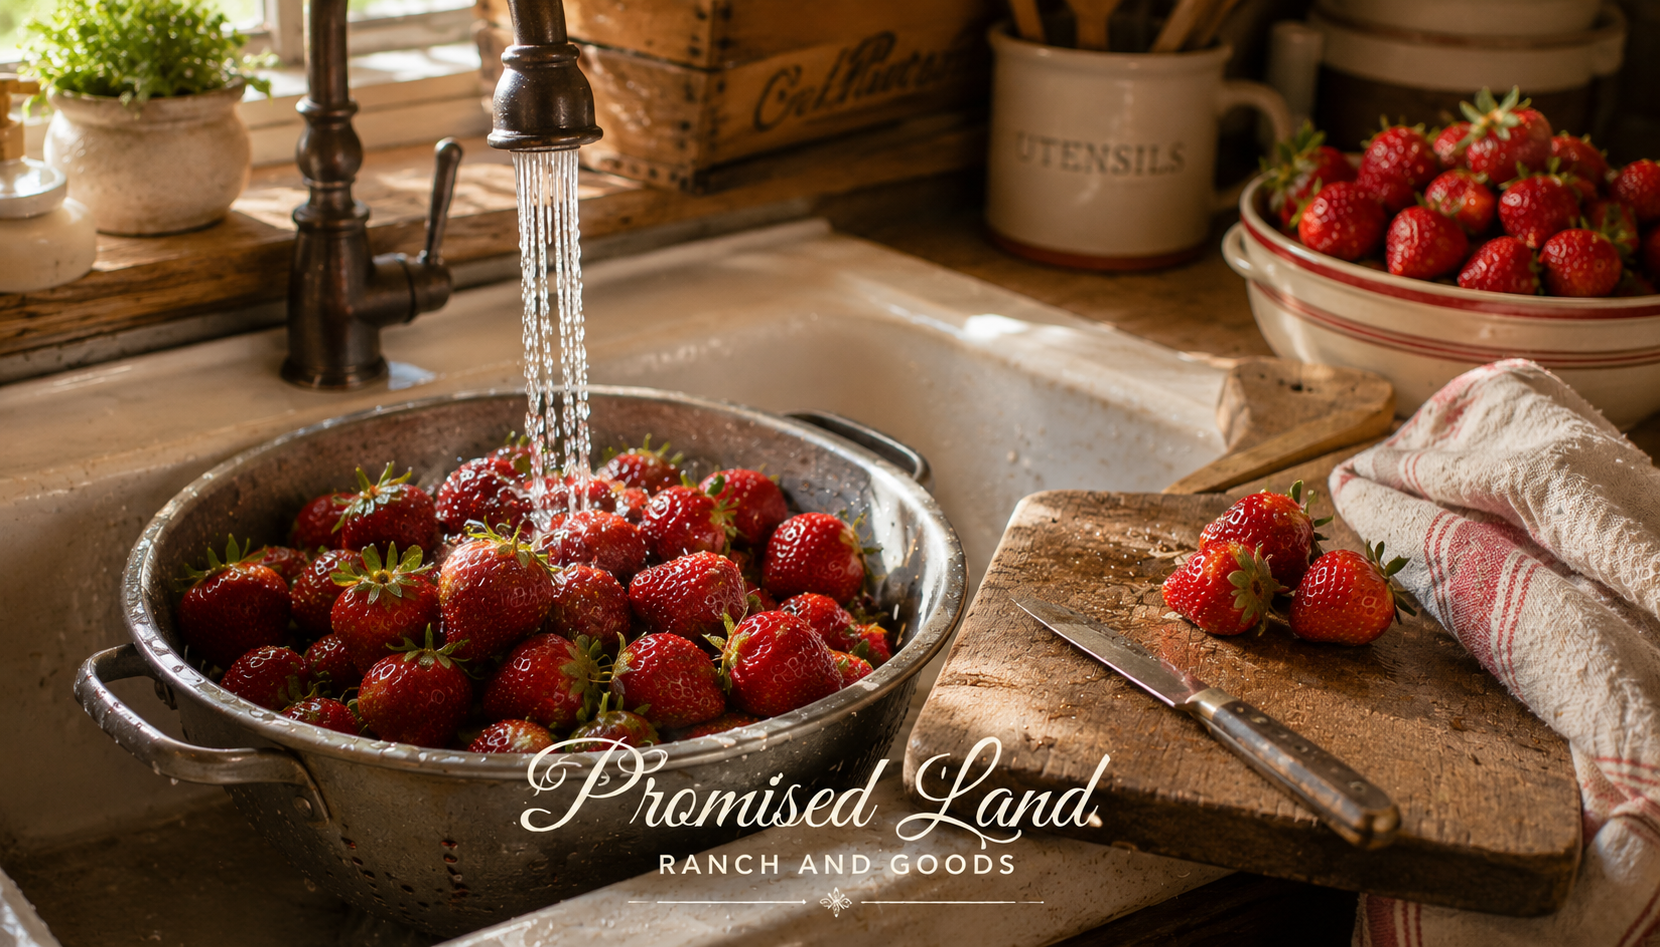
There is something about strawberries that makes them the right place to begin.
They are forgiving. They are familiar. They smell like summer and taste like something that belongs at a farmstead table in a way that feels almost ordained. And when you open a jar of homemade strawberry jam recipe you made yourself in the middle of January — when the snow is deep and the garden is buried and summer feels like a distant memory — something in you remembers that the harvest came and you were faithful enough to keep it.
That is worth the work of standing over a hot pot for an hour. Every single time.
I have made strawberry jam with pectin and I have made it without. I have used fresh strawberries from the garden and I have used strawberries from the store when the garden was not ready yet and my husband’s toast was waiting. Both ways work. Both ways produce something beautiful. And I want you to know both so you can make the choice that fits your pantry and your patience on any given summer morning.
2. What You Need Before You Begin
Before you make either version of this homemade strawberry jam recipe make sure you have everything ready before the strawberries hit the pot. Jam moves faster than you think and a prepared kitchen makes the difference between a smooth batch and a scrambled one.
Equipment you will need:
- Mason jars with new lids and bands — Ball Wide Mouth Mason Jars are what we use at Promised Land Ranch and they have never let us down
- A canning funnel — do not skip this, it keeps the jar rims clean for a good seal
- A jar lifter — essential for safely moving hot jars in and out of the water bath
- A large heavy-bottomed pot for the jam
- A water bath canner or large stock pot with a rack
- A potato masher or berry crusher for breaking down the berries
- A candy thermometer — especially helpful for the no-pectin method
For the With-Pectin Method:
- Sure-Jell Fruit Pectin — the classic, reliable, beginner-friendly choice
Ingredients (both methods use):
- Fresh ripe strawberries — garden fresh is beautiful but store bought works perfectly well
- Granulated white sugar
- Fresh lemon juice
3. Homemade Strawberry Jam Recipe — With Pectin
This is the version I made first and the one I still reach for when I want a guaranteed set and a batch that comes together quickly. If you are making your first jar of homemade strawberry jam recipe this is where I would tell you to start.
Ingredients:
- 2 quarts fresh strawberries (about 4 cups crushed)
- 1 package Sure-Jell fruit pectin
- 7 cups granulated sugar
- 2 tablespoons fresh lemon juice
Instructions:
Step 1 — Prepare your jars
Wash jars in hot soapy water and keep them warm in a simmering water bath until you are ready to fill them. Prepare your lids according to the manufacturer’s directions.
Step 2 — Prepare the strawberries
Hull and crush your strawberries one layer at a time using a potato masher. You want crushed fruit not puree — a little texture is part of what makes a homemade strawberry jam recipe feel real.
Step 3 — Cook the pectin
Stir the pectin into the crushed strawberries and lemon juice in your large pot. Bring to a full rolling boil over high heat, stirring constantly. A full rolling boil is one that does not stop bubbling when you stir it.
Step 4 — Add the sugar
Add all 7 cups of sugar at once. Return to a full rolling boil and boil hard for exactly 1 minute, stirring constantly.
Step 5 — Fill the jars
Remove from heat. Skim foam from the surface. Fill jars to a quarter inch headspace using your canning funnel. Wipe jar rims clean. Place lids and bands fingertip tight.
Step 6 — Process
Process in a boiling water bath for 10 minutes. Remove and let cool on a towel undisturbed for 24 hours. Listen for the pings. 🍓
4. Homemade Strawberry Jam Recipe — Without Pectin
This is the old fashioned method — the one your grandmother likely used, the one that relies on nothing but the natural pectin in the fruit, the sugar, and the heat to create a set. It takes longer and requires a little more attention but the flavor is deeper and the result is a jam that tastes unmistakably like strawberries and nothing else.
Ingredients:
- 4 cups crushed fresh strawberries
- 3 cups granulated sugar
- 3 tablespoons fresh lemon juice
Instructions:
Step 1 — Macerate the strawberries
Combine crushed strawberries and sugar in a large bowl. Stir well and let sit for at least 1 hour or up to overnight in the refrigerator. This draws out the juice and begins dissolving the sugar before the pot ever gets hot.
Step 2 — Cook low and slow
Transfer the macerated strawberries to your heavy-bottomed pot. Add lemon juice. Bring to a boil over medium heat stirring frequently. Reduce heat and continue cooking at a steady simmer for 45 minutes to an hour, stirring often especially toward the end.
Step 3 — Test for set
Place a small plate in the freezer before you begin cooking. When you think the jam is ready drop a small spoonful on the frozen plate and push it with your finger. If it wrinkles and holds its shape your jam is set. If it runs keep cooking. A candy thermometer reading of 220°F also indicates a good set.
Step 4 — Fill and process
Fill jars to a quarter inch headspace. Wipe rims. Apply lids and bands. Process in a boiling water bath for 10 minutes.
5. Which Method Is Right for You
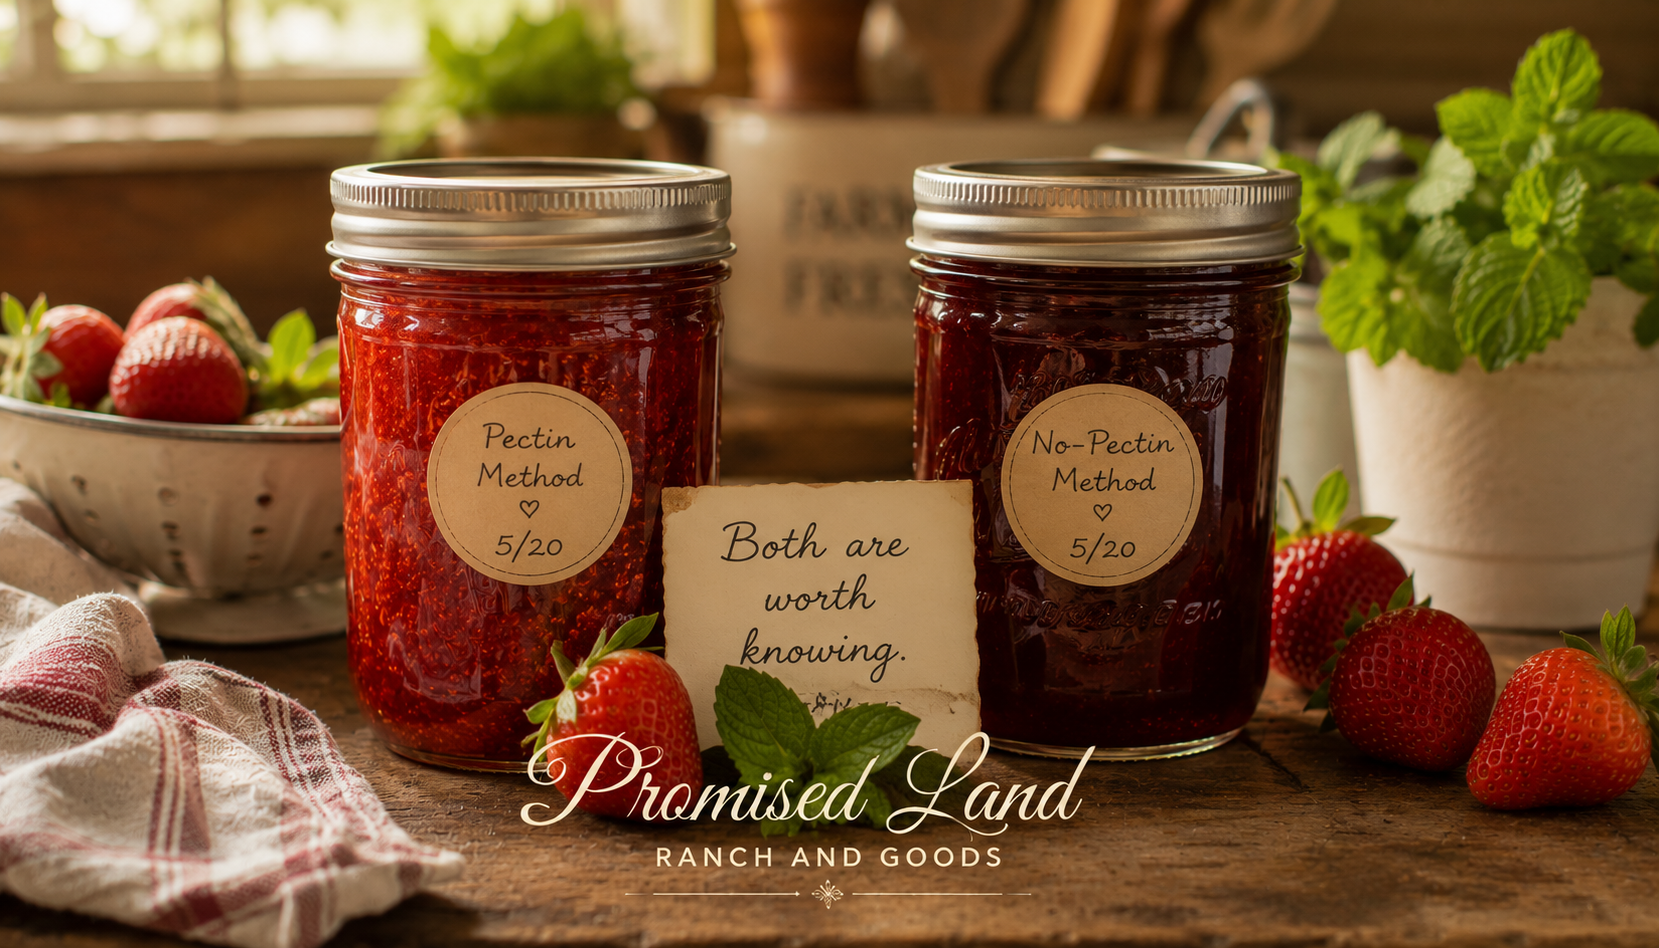
Here is the honest answer: both of them are right for you depending on the day.
Reach for the pectin method when:
- You are making jam for the first time and want a guaranteed set
- You have a big batch of berries and not a lot of time
- You are canning with children or grandchildren and need the process to be fast and predictable
- You want a brighter fresher strawberry flavor
Reach for the no-pectin method when:
- You want a deeper more complex jam that tastes like it came from another era
- You have time to stand at the stove and stir and think and pray
- You want to know that everything in that jar came directly from the earth with nothing added
- You are in the mood for the kind of slow kitchen work that settles something in your spirit
Both jars will end up on the same shelf. Both will feed the same people. Both are good gifts from a faithful kitchen. 🙏
6. Tips From the Farmstead Kitchen
A few things this homemade strawberry jam recipe has taught us along the way:
Use ripe but not overripe berries. Overripe strawberries have less natural pectin and more water — both work against you in jam making. You want berries that smell deeply of strawberry and are fully red all the way through.
Do not double the batch. It is tempting when you have a big bowl of berries but jam chemistry does not scale well. Make two separate batches instead of one giant one.
Skim the foam. That pink foam that rises to the top during cooking is harmless but it makes your finished jam look cloudy. A pat of butter added to the pot can help reduce foaming, or just skim it off at the end.
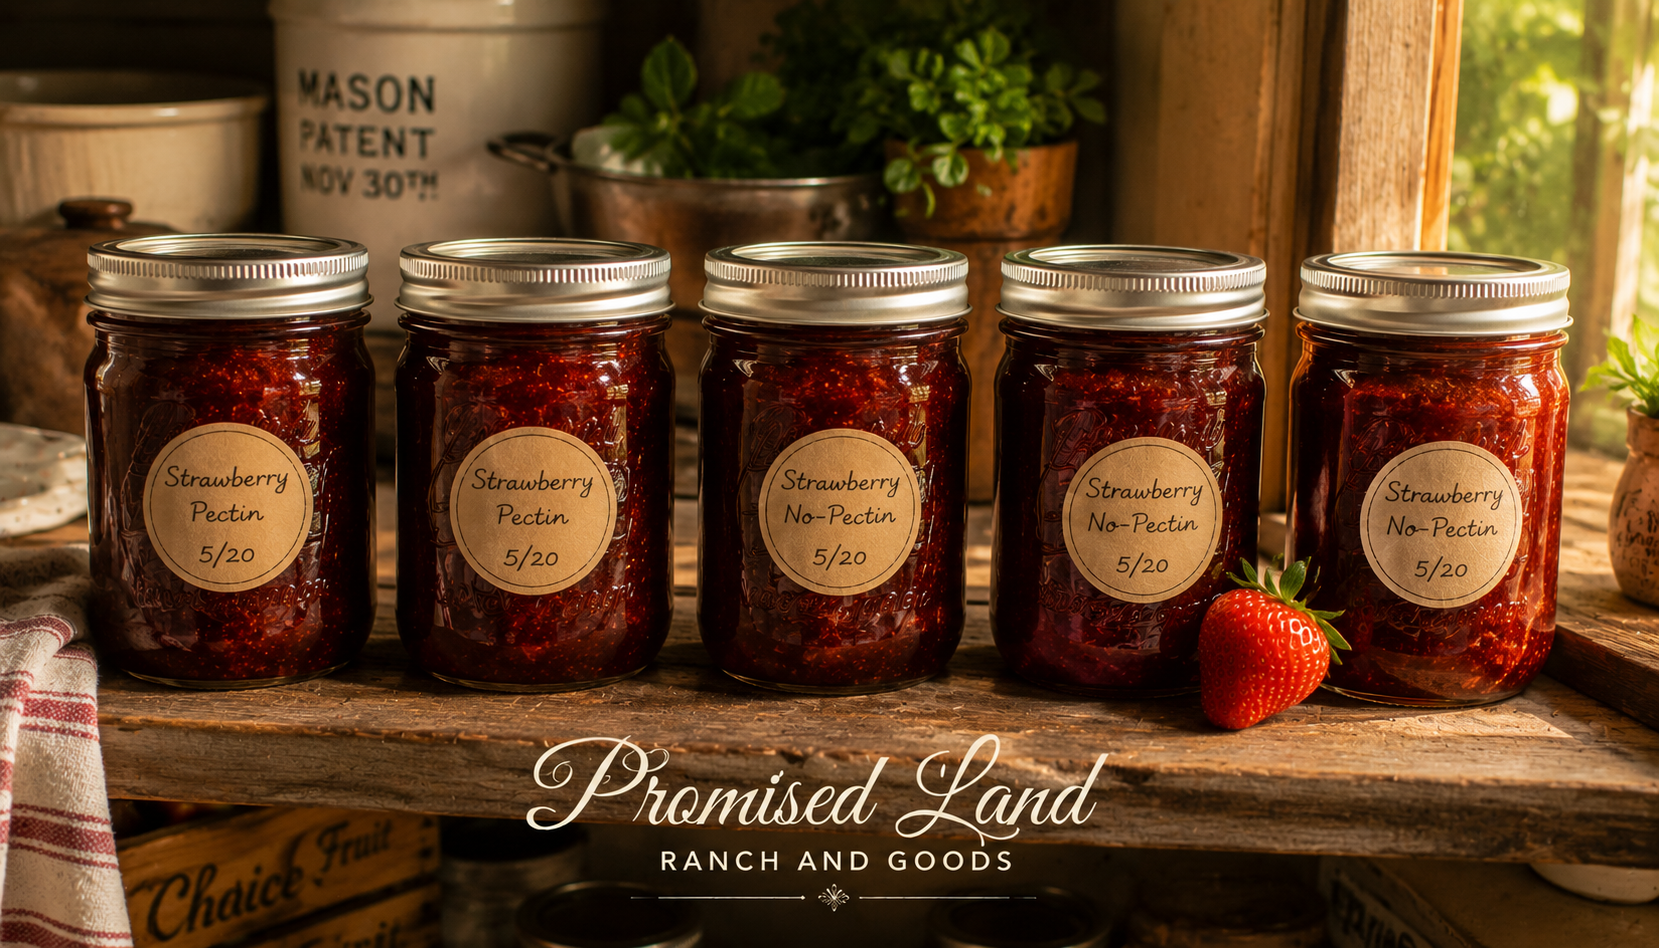
Label your jars immediately. You think you will remember which batch is which. You will not. Label them with the date and the method while the memory is fresh.
Track your batches. The Sourdough Baking Journal — Daily Dough Blue Bread Notes from our Quiet Nook has become our farmstead kitchen journal for tracking everything we make — including jam batches, what worked, what we want to change, and what made a particular jar especially good. It is one of the most useful things in our kitchen. 🌾
For additional tested and trusted jam recipes from a source we return to every season, the National Center for Home Food Preservation is always our first stop for safety guidelines and processing times.
7. Your Table Challenge This Week
This week your Table Challenge is the most delicious one we have given you yet.
Make a batch of homemade strawberry jam recipe — whichever method calls to you — and give a jar away before you keep one for yourself.
Not after you have stocked your own shelf. Before. Give the first jar away to someone who will genuinely love it — a neighbor, a friend, someone who has been on your heart, someone who could use a reminder that they are thought of and cared for.
Then make another batch and fill your own shelf.
“Give, and it shall be given unto you; good measure, pressed down, and shaken together, and running over, shall men give into your bosom.”
Luke 6:38 KJV
Give the first jar. Watch what happens to the rest of the batch. 🙏
8. Follow the Harvest and Preservation Series
This post is part of our ongoing Harvest and Preservation series running all summer long on Farmstead Chronicles. If you missed the posts that started it all catch up here:
- Canning for Beginners — 7 Essential Steps to Start Today — the practical foundation for everything we are doing this summer
- From Garden to Jar — 5 Faithful Lessons This Summer — the faith behind the preservation
Follow the full Farmstead Chronicles series here — we publish every Tuesday and Friday all summer long. 🌾
9. Coming Up Next Week Around the Farmstead
📖 Tuesday July 14
How to Make Homemade Salsa for Canning — Simple and Safe
Your garden tomatoes deserve better than the store shelf — this post walks you through making and canning your own salsa safely at home for the very first time.
🌾 Friday July 17
What I Learned When the Freezer Saved the Harvest — Part 3 of 4
Sometimes the most faithful thing you can do with an abundant harvest is freeze it — and this post celebrates the humble freezer as one of the farmstead woman’s most trusted tools.
Follow Farmstead Chronicles here so you never miss a post. 🌿
10. Find Your Quiet Nook
If this kind of slow intentional farmstead kitchen work feeds your soul the way it feeds your family — the Quiet Nook was built for you.
The Bread and Blessings Personalized Christian Kitchen Journal is a beautiful hardcover journal designed for the woman who finds God in her kitchen — perfect for recording recipes, prayers, seasonal rhythms, and the quiet faith that turns ordinary cooking into something sacred. It also makes a stunning personalized gift for any woman in your life who loves to cook and loves her Lord. 💛
Explore the full Quiet Nook collection here 🌿
11. Join Grace Notes Every Sunday
Every Sunday at 2pm a personal letter goes out from Promised Land Ranch straight to your inbox — real stories, deep scripture, farmstead wisdom, and the kind of encouragement that meets you in whatever season you are actually in.
It is free. It is faithful. And it goes out every single Sunday without fail.
Sign up for Grace Notes right here — we would love to have you at our table. 💛
🛒 Amazon Disclosure: This post contains affiliate links. As an Amazon Associate we earn from qualifying purchases at no additional cost to you. We only recommend products we genuinely use and love right here in our own farmstead kitchen.
