
Farmstead Chronicles
The Freezer Is Your Friend — 7 Proven Tips for Freezing Vegetables From the Garden
Jul
Long before the turkey fryer came out of the shed. Long before I ever stood over a water bath canner watching lids seal one by one. Long before canning was even on my radar as something a woman like me could learn to do — the freezer was already doing its faithful work in our farmstead kitchen.
Freezing vegetables from the garden has been our primary method of preserving the harvest here at Promised Land Ranch for years. Not because it is the most impressive method. Not because it photographs as beautifully as a row of sealed Mason jars catching afternoon light on a pantry shelf — though honestly a well-organized freezer has its own kind of beauty once you know how to look at it.
Because it works. Consistently, reliably, without ceremony or fanfare, it works. You pick it. You prep it. You freeze it. And in January when the garden is buried under a foot of snow and you pull a bag of green beans out of the freezer that you harvested with your own hands in July — something in you goes quiet in exactly the right way.
That is the gift the freezer gives. And today I want to make sure you are using it to its full potential.
“She is not afraid of the snow for her household: for all her household are clothed with scarlet.”
Proverbs 31:21 KJV
The Proverbs 31 woman was not afraid of winter because she had prepared well for it. She had done the work in the season when the work was available to do. That is the whole heart of freezing vegetables from the garden — doing the faithful work in summer so the provision is already there when winter comes.
This is Part 2 of our Harvest and Preservation series on Farmstead Chronicles. If you missed Part 1 — From Garden to Jar — 5 Faithful Lessons This Summer — go back and read it first. It sets the whole foundation for why we preserve and what it means for a farmstead woman of faith. This post is the practical companion — the how behind the why. 🌾
1. The Freezer Has Always Been My First Answer
I want to say something honest before we get into the tips.
There is a certain romance around canning — the sealed jars, the pantry shelf, the sound of the lids popping — that freezing simply does not have. Nobody pins a photo of a labeled freezer bag the way they pin a row of ruby red strawberry jam jars. And if you have been in farmstead spaces online for any length of time you may have absorbed the unspoken idea that real farmstead women can everything and that freezing is somehow the lazy version.
I want to push back on that gently and firmly.
Freezing vegetables from the garden is not the lesser method. It is a different method — one that preserves more nutrients in many vegetables, requires less equipment, takes less time on any given harvest day, and allows you to put food up quickly and come back to it later when life is not quite so full.
The goal of preserving the harvest is to feed your family well in every season. The method that gets that food from the garden into your family’s bellies — whether it is a sealed jar or a labeled freezer bag — is the right one. Both are faithful. Both matter. Both belong in a well-run farmstead kitchen.
2. Why Freezing Belongs in Every Farmstead Kitchen
Here is the practical case for freezing vegetables from the garden that nobody talks about enough:
Speed is mercy. On a day when the green beans come in faster than you planned and the corn is ready at the same time and the tomatoes are threatening to go over — the freezer is the fastest path from overwhelmed to provision secured. No water bath. No pressure canner. No processing times. Pick it, prep it, blanch it, bag it, freeze it. Done.
The nutrients stay closer to the fresh version. Many vegetables actually retain more of their vitamins and minerals through freezing than through water bath canning because the heat exposure is shorter. This is not a criticism of canning — it is simply one of the strengths of freezing worth knowing.
The learning curve is gentle. If you are new to preserving or if canning still feels intimidating — the freezer is where to begin. The technique is simple, the margin for error is wide, and the results are immediate. It builds your confidence for everything else.
3. Seven Faithful Tips for Freezing Vegetables From the Garden
Tip 1 — Pick at Peak
The quality you put into the freezer is the quality you pull out in January. Vegetables frozen at their peak of ripeness — crisp, vibrant, fully developed in flavor — will be significantly better than vegetables frozen past their prime.
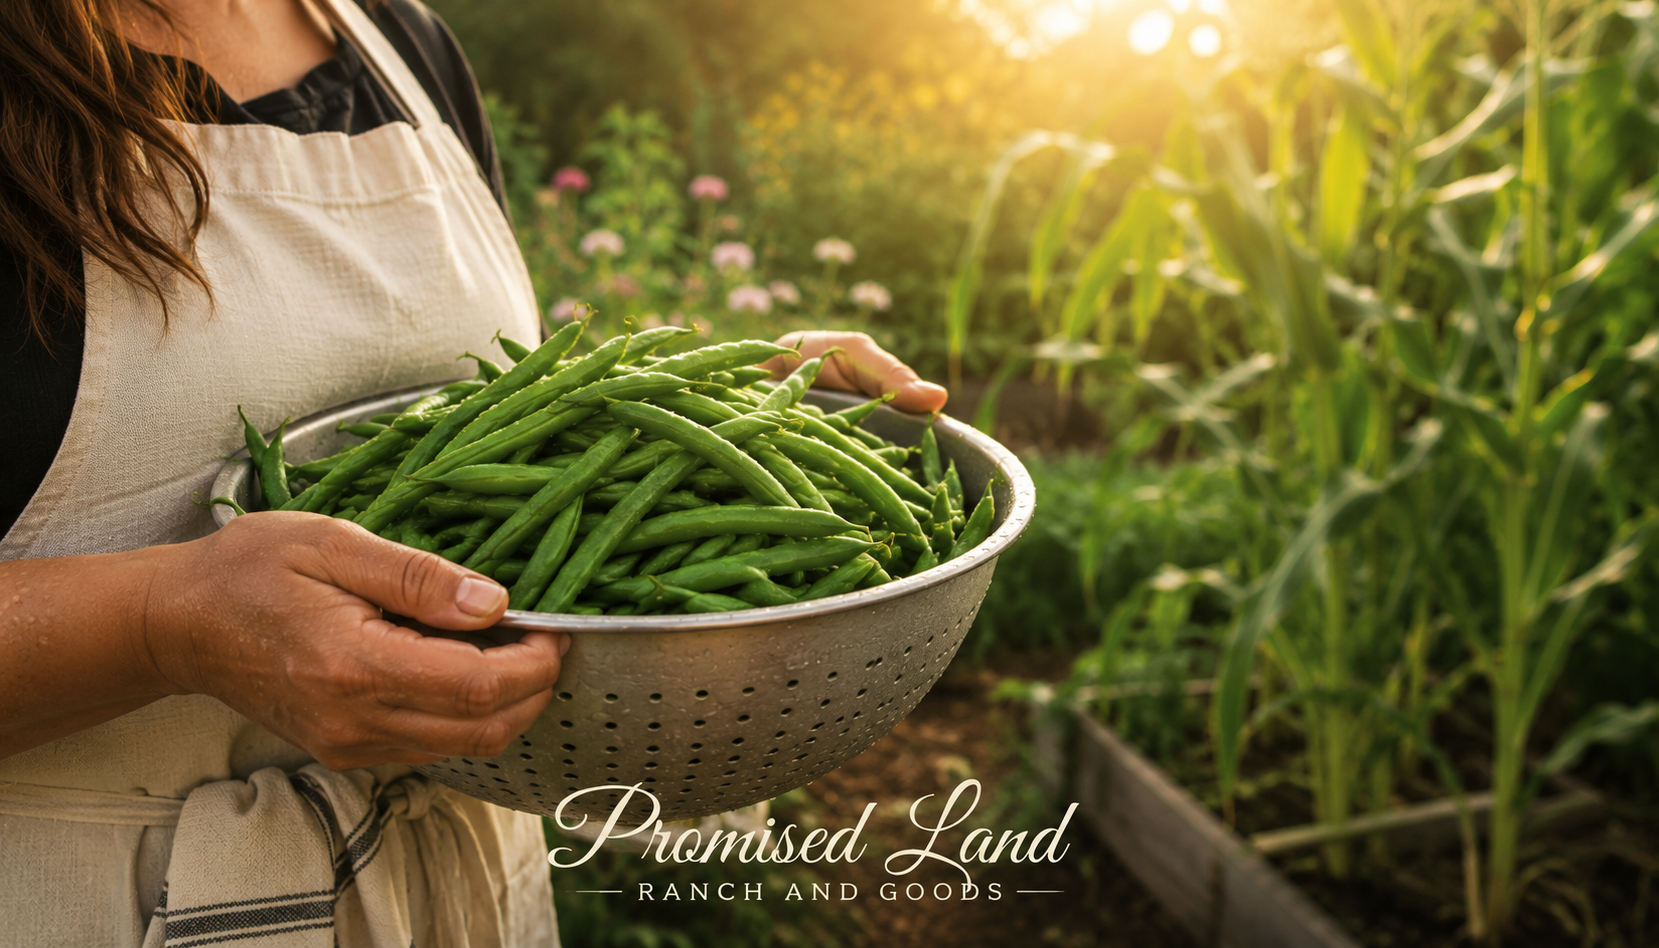
Pick green beans when they snap cleanly. Freeze corn within 24 hours of picking. Choose zucchini before it becomes a baseball bat. The freezer preserves what you give it — give it your best.
Tip 2 — Wash and Dry Thoroughly
Before anything goes into a freezer bag it needs to be clean and as dry as possible. Excess moisture on your vegetables forms ice crystals that damage cell walls and produce mushy results when thawed.
Wash thoroughly in cold water. Spin dry in a salad spinner or spread on clean kitchen towels and pat dry. Take the extra five minutes. Your January self will thank you.
Tip 3 — Blanch Most Vegetables Before Freezing
We are going to talk about blanching in more detail in Section 5 — but the short version is this: most vegetables need a brief bath in boiling water followed by an immediate plunge into ice water before they go into the freezer.
Blanching stops the enzyme activity that causes vegetables to continue breaking down in the freezer. Skip it and your green beans will come out dull, mushy, and flavorless after a few months. Do it and they come out bright, firm, and tasting like July. It is worth the step.
Tip 4 — Flash Freeze Before Bagging
This is the tip that changes everything for texture and convenience.
Instead of packing fresh vegetables straight into a bag — which causes them to freeze together in one solid clump — spread them in a single layer on a parchment-lined baking sheet and freeze for one to two hours first. Once frozen solid transfer them to your freezer bags.
The result is individually frozen pieces that pour out of the bag exactly as many as you need — no chiseling a chunk of frozen beans off a solid block at 6pm when dinner needs to be on the table.
Tip 5 — Use Good Freezer Bags and Press Out the Air
Regular zip bags are not the same as freezer bags. Freezer bags are thicker and designed to prevent freezer burn — the enemy of everything you worked hard to preserve.
Press out as much air as possible before sealing. A vacuum sealer is worth every penny if you freeze in large quantities — it removes virtually all the air and extends the quality of your frozen vegetables significantly. We use ours constantly here at Promised Land Ranch.
FoodSaver Freezer Bags are what we reach for when we are not using the vacuum sealer — thicker than standard bags and reliably freezer-burn resistant.
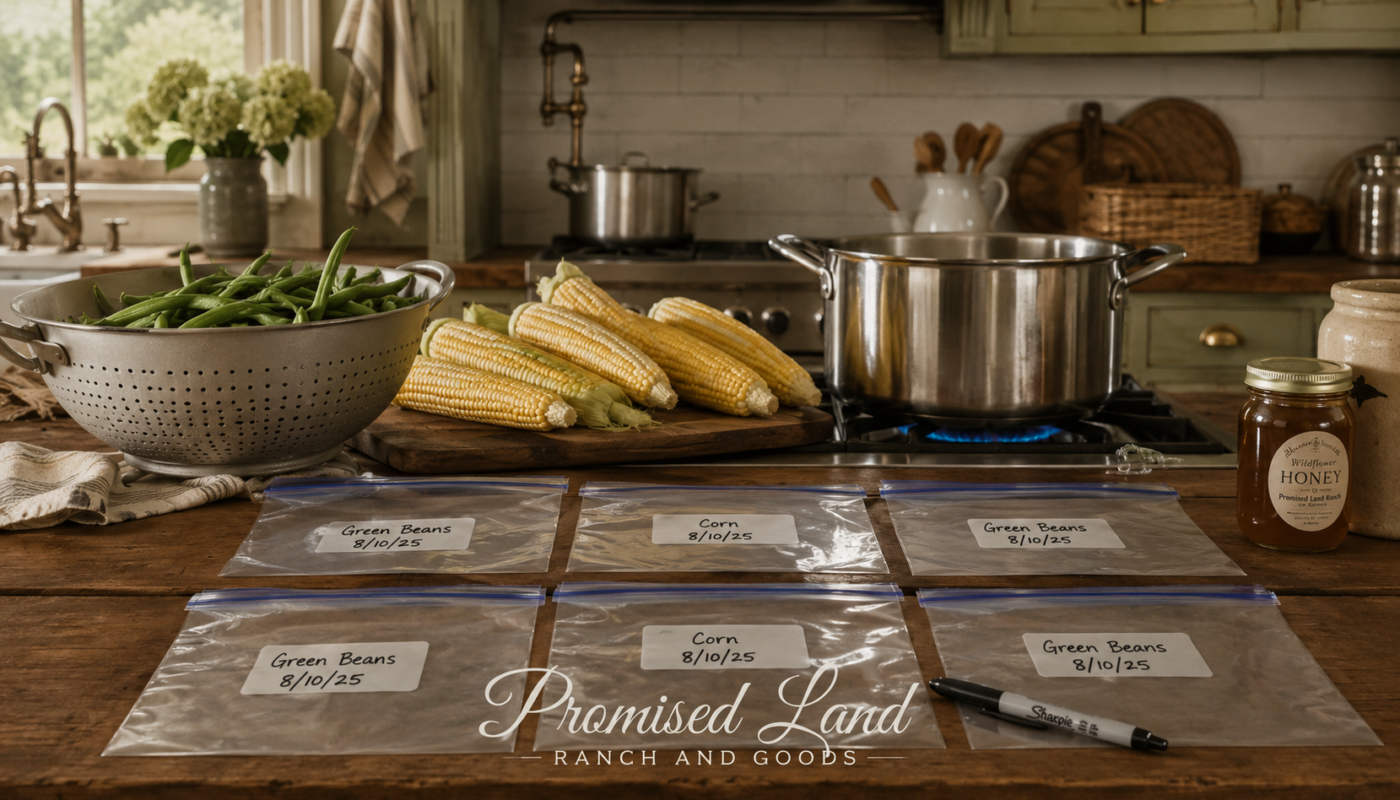
Tip 6 — Label Everything Immediately
You think you will remember what is in that bag. You will not.
Label every bag before you fill it — vegetable name, date, and any notes about the variety or how it was prepared. A permanent marker and a simple masking tape label is all you need. Do it while the bag is still in your hand, not after it is sealed and going into the freezer.
Use within 8-12 months for best quality. The food will be safe beyond that but the quality declines.
Tip 7 — Organize Your Freezer Like a Pantry
A freezer full of unlabeled mystery bags is not a preserved harvest — it is a delayed problem.
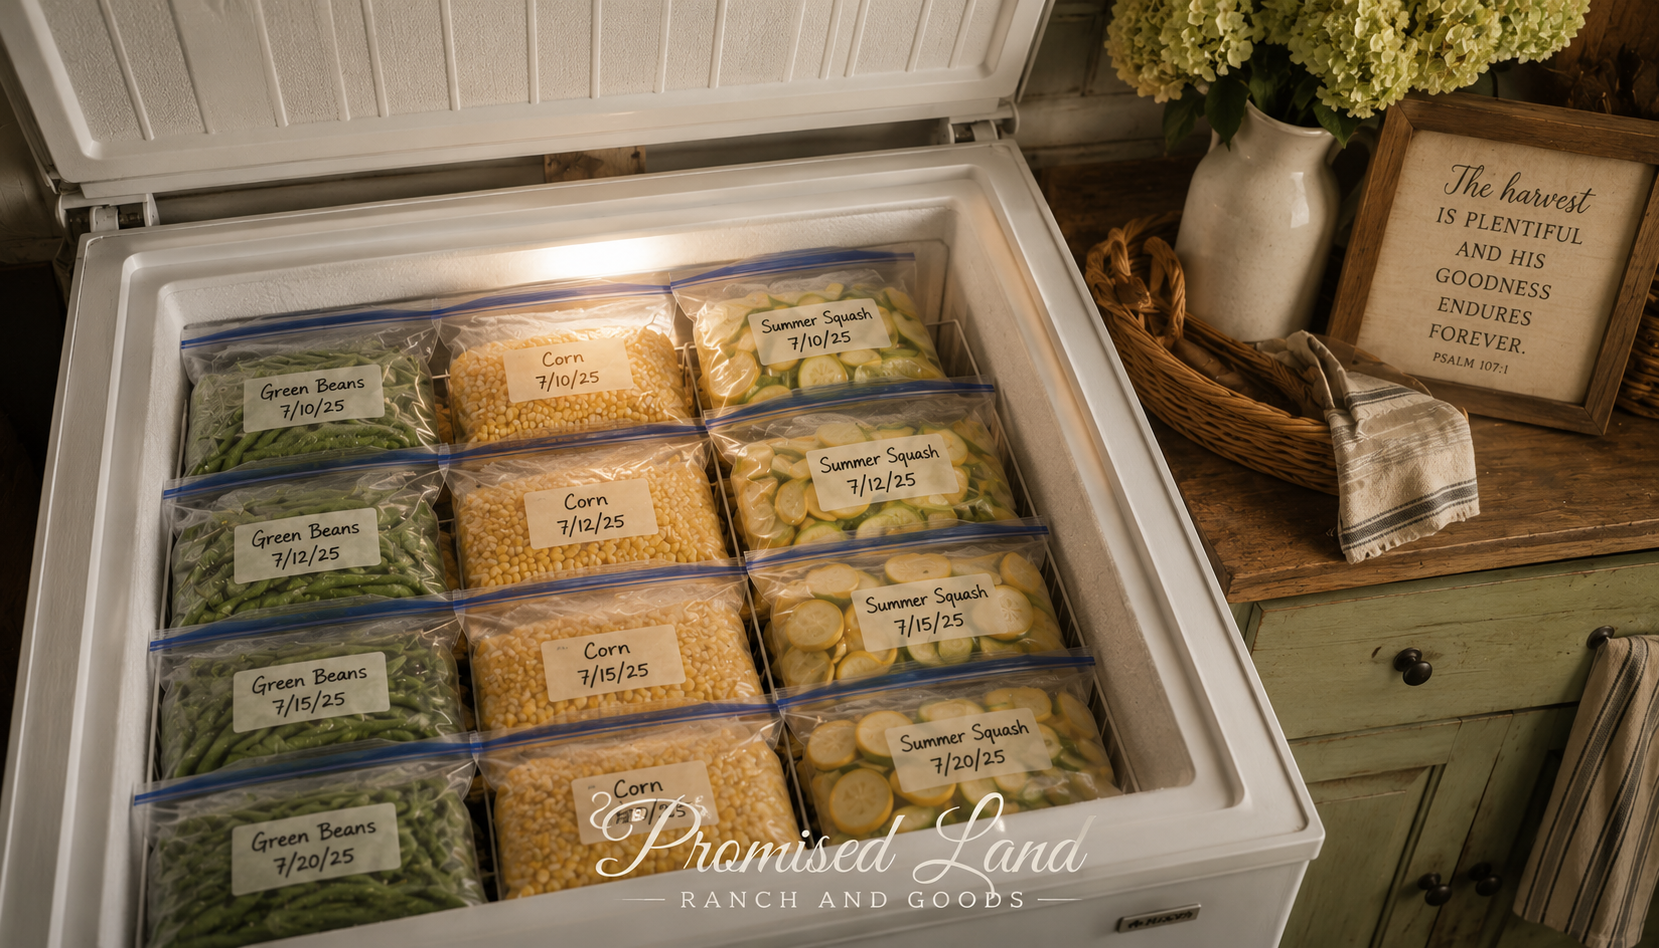
Organize by vegetable and by date. Newest bags go to the back, oldest come to the front. Consider a simple inventory list on the outside of your freezer door so you know what you have without digging.
The Sourdough Baking Journal — Blue Bread Notes from our Quiet Nook has become our whole farmstead kitchen tracking journal — we use it to log what we froze, when we froze it, how much we have, and what we want to do differently next season. It is one of the most useful things in our kitchen. 🌾
4. What We Freeze Here at Promised Land Ranch
Freezing vegetables from the garden looks a little different here every summer depending on what the garden gives us. But here is what reliably goes into our freezer every year:
Green beans — blanched for 3 minutes, flash frozen, bagged in meal-sized portions. These come out of the freezer in the dead of winter tasting like July.
Corn — cut from the cob after blanching, frozen flat on baking sheets first. Sweet summer corn in a January soup is one of the small miracles of farmstead life.
Summer squash and zucchini — shredded and frozen in two-cup portions for baking. Every loaf of zucchini bread we make from November through March starts with a bag from the summer garden.
Tomatoes — whole or chopped, frozen without blanching, used in soups and sauces all winter. Frozen tomatoes are one of the most underrated things in a farmstead freezer.
Herbs — chopped and frozen in ice cube trays with a little water or olive oil, then transferred to bags. Fresh herbs from the summer garden available in every winter soup and sauce.
And this summer we will be adding to that list as we push into new territory — beans, carrots, and whatever else the garden decides to give us in abundance.
5. The Blanching Question — What It Is and Why It Matters
Since blanching comes up in almost every conversation about freezing vegetables from the garden let me give you the full picture right here.
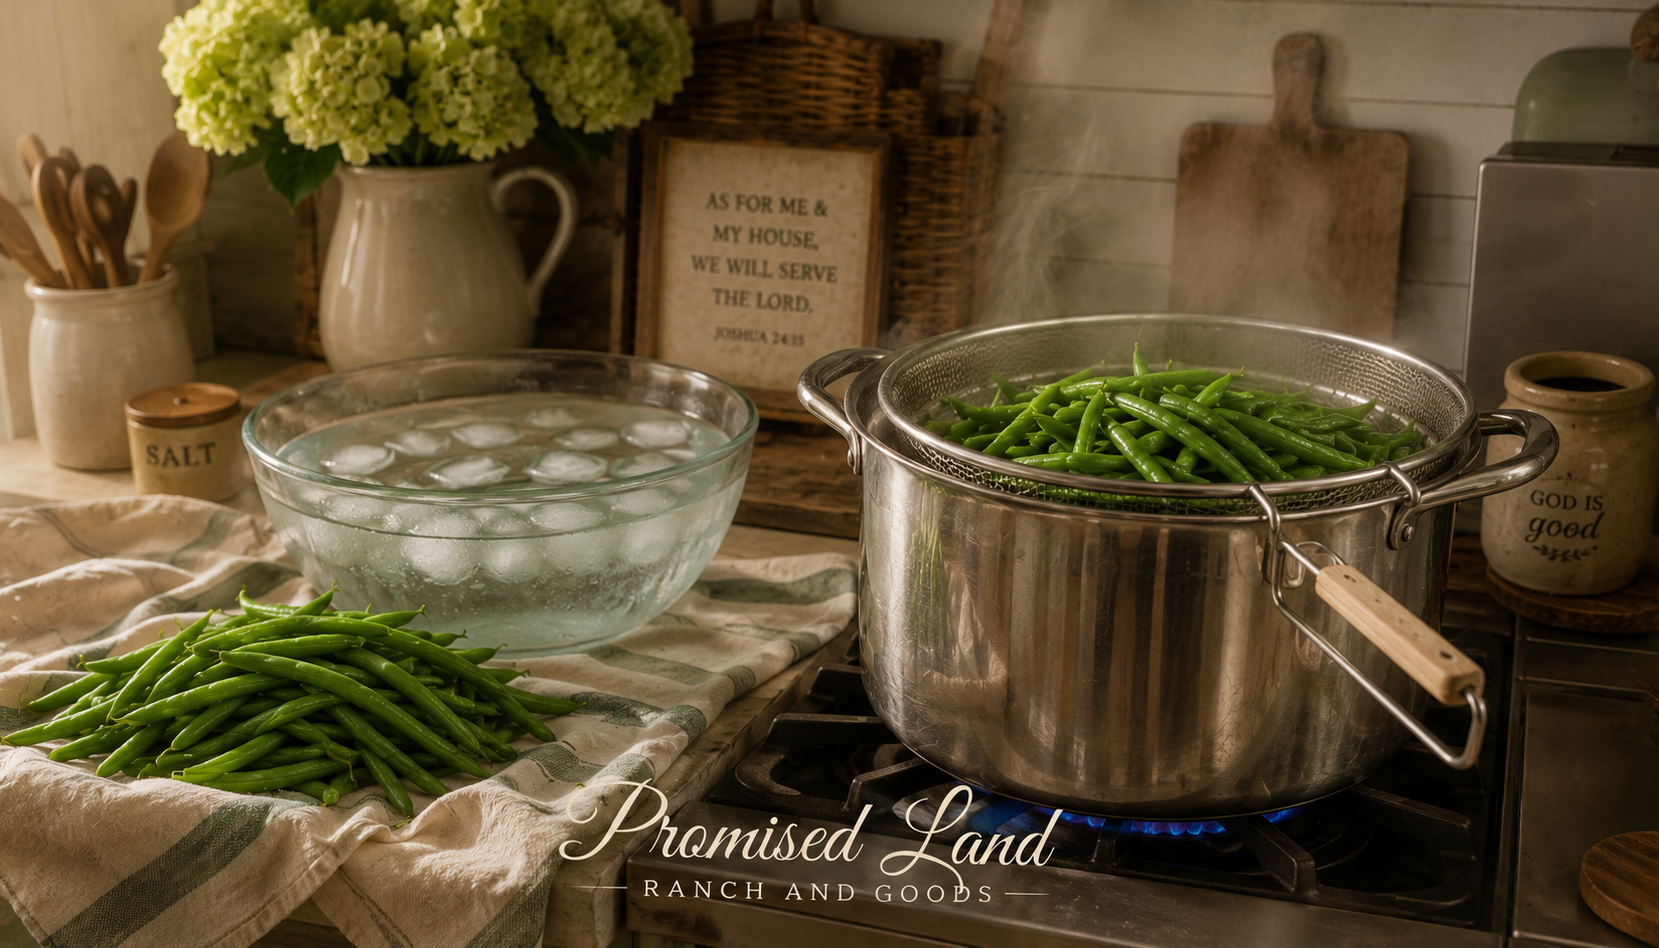
What blanching is: A brief plunge into boiling water — anywhere from 1-5 minutes depending on the vegetable — followed immediately by an ice bath that stops the cooking.
Why it matters: Vegetables contain enzymes that continue breaking down the food even after harvest. Freezing slows this process significantly but does not stop it entirely. Blanching does stop it. Unblanched vegetables frozen without blanching will lose color, texture, and flavor within a few months.
What needs blanching: Green beans (3 min), broccoli (3 min), corn on cob (7-11 min), carrots (2-5 min depending on size), summer squash (3 min).
What does not need blanching: Tomatoes, herbs, peppers, onions.
For specific blanching times by vegetable the National Center for Home Food Preservation is always our trusted source — tested, reliable, and completely free to access.
A good blanching pot with basket makes the whole process significantly easier — the basket lets you lift vegetables in and out of boiling water without burning yourself or losing a single bean.
6. Your Table Challenge This Week
This week your Table Challenge is to open your freezer and take stock.
Not to organize it — though if that happens that is a bonus. Just to look at it honestly. What is in there? What did you freeze last summer that is still taking up space? What did you preserve faithfully that you have not used yet?
And then — use something from the freezer this week to feed someone at your table. Pull out those green beans from last July. Cook the corn you froze in August. Make a soup from the frozen tomatoes that have been waiting.
The provision was already there. It just needed to be remembered.
“For I was an hungred, and ye gave me meat: I was thirsty, and ye gave me drink: I was a stranger, and ye took me in.”
Matthew 25:35 KJV
Feed someone this week from what you already have. That is the whole challenge. 🙏
7. Follow the Harvest and Preservation Series
This is Part 2 of our four-part Harvest and Preservation series on Farmstead Chronicles. Here is where we have been and where we are going:
- ✅ Part 1 — From Garden to Jar — 5 Faithful Lessons This Summer
- ✅ Part 2 — The Freezer Is Your Friend — 7 Faithful Tips for Freezing Vegetables From the Garden (you are here)
- 🌾 Part 3 — Coming July 17
- 🌾 Part 4 — Coming July 24
Follow the full Farmstead Chronicles series here — we publish every Tuesday and Friday all summer long. ☕🌾
8. Coming Up Next Week Around the Farmstead
📖 Tuesday July 14
How to Make Homemade Salsa for Canning — Simple and Safe
Your garden tomatoes deserve better than the store shelf — this post walks you through making and canning your own salsa safely at home with confidence and a whole lot of farmstead flavor.
🌾 Friday July 17
What the Pantry Knows — Part 3 of 4
The Harvest and Preservation series continues with a deeper look at what a well-stocked farmstead pantry actually means — not just for your family but for everyone God sends through your door.
Follow Farmstead Chronicles here so you never miss a post. 🌿
9. Find Your Quiet Nook
If this kind of intentional farmstead living resonates with you — the kind that sees a well-organized freezer as an act of faith and a prepared pantry as an act of worship — the Quiet Nook was built for you.
The Faithful in the Little Things — Personalized Christian Journal is a beautiful hardcover journal for the farmstead woman who recognizes God’s hand in the small everyday acts of faithfulness — like blanching green beans in July so her family eats well in January. Personalized with your name and designed for daily prayer, Scripture, and quiet reflection. 🌿
Explore the Quiet Nook right here 💛
10. Join Grace Notes Every Sunday
Every Sunday at 2pm a personal letter goes out from Promised Land Ranch straight to your inbox — real stories, deep scripture, farmstead wisdom, and the kind of encouragement that meets you in whatever season you are actually in.
It is free. It is faithful. And it goes out every single Sunday without fail.
Sign up for Grace Notes right here — we would love to have you at our table. 💛
🛒 Amazon Disclosure: This post contains affiliate links. As an Amazon Associate we earn from qualifying purchases at no additional cost to you. We only recommend products we genuinely use and love right here in our own farmstead kitchen.
