Farmstead Chronicles
How to Start a Sourdough Starter From Scratch: 7 Easy Steps—A Farmstead Guide

Jun
How to Start a Sourdough Starter From Scratch in 7 Days — A Farmstead Guide
This post contains affiliate links. If you purchase through our links we may earn a small commission at no extra cost to you — and we only ever recommend products we actually use and love here on the farmstead. Thank you for supporting Promised Land Ranch and Goods! 🌾
If you’ve been searching for how to start a sourdough starter from scratch, you’ve come to the right place. There is something deeply satisfying about making something alive from nothing but flour and water. No packet of yeast. No store-bought shortcut. Just two simple ingredients, a little patience, and the kind of quiet faith that the farmstead teaches you whether you’re ready for it or not.
We’ve been baking with a sourdough starter here at Promised Land Ranch for a while now — and we want to tell you something right up front: it is not as complicated as the internet makes it look. If you’ve been wanting to learn how to start a sourdough starter from scratch but felt intimidated, this post is for you. Pull up a chair. We’re going to walk through it together, step by step, the farmstead way.
What Is a Sourdough Starter and Why Does It Matter?
A sourdough starter is a live culture of wild yeast and beneficial bacteria, fed by flour and water, that acts as your natural leavening agent. Instead of relying on commercial yeast, your starter captures wild yeast right from the air around you — from your kitchen, your hands, even the flour itself. Many women ask us how to start a sourdough starter from scratch — and the answer is simpler than you think.
That means every starter is unique. Ours — her name is Duffy, and yes, she has a personality — was born right here on this farmstead in February 2026. The first batch didn’t make it. But the second one came to life, and she’s been with us ever since. 🌾
That’s the thing about sourdough. It teaches you the same lesson the land teaches you every single season — you cannot rush what’s growing. You tend it, you feed it, and you trust the process.
What You Need to Start a Sourdough Starter From Scratch
Before we dive in, let’s keep this simple. Everything you need to know how to start a sourdough starter from scratch is right here in this list. You do not need fancy equipment. Here’s what we actually use right here on the farmstead:
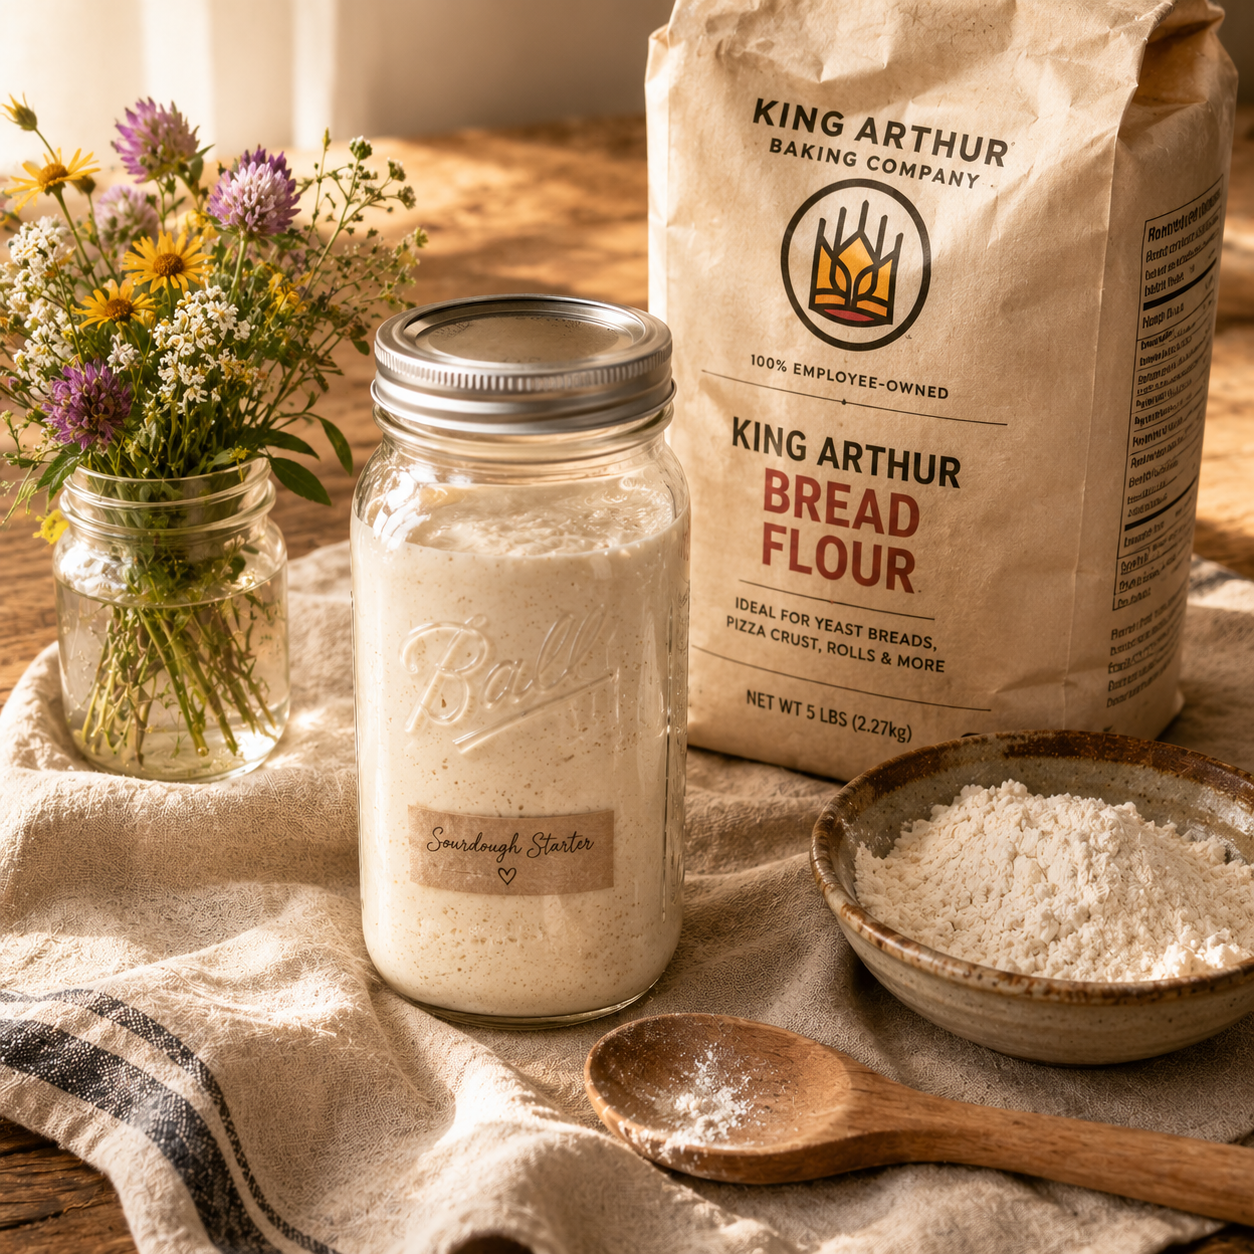
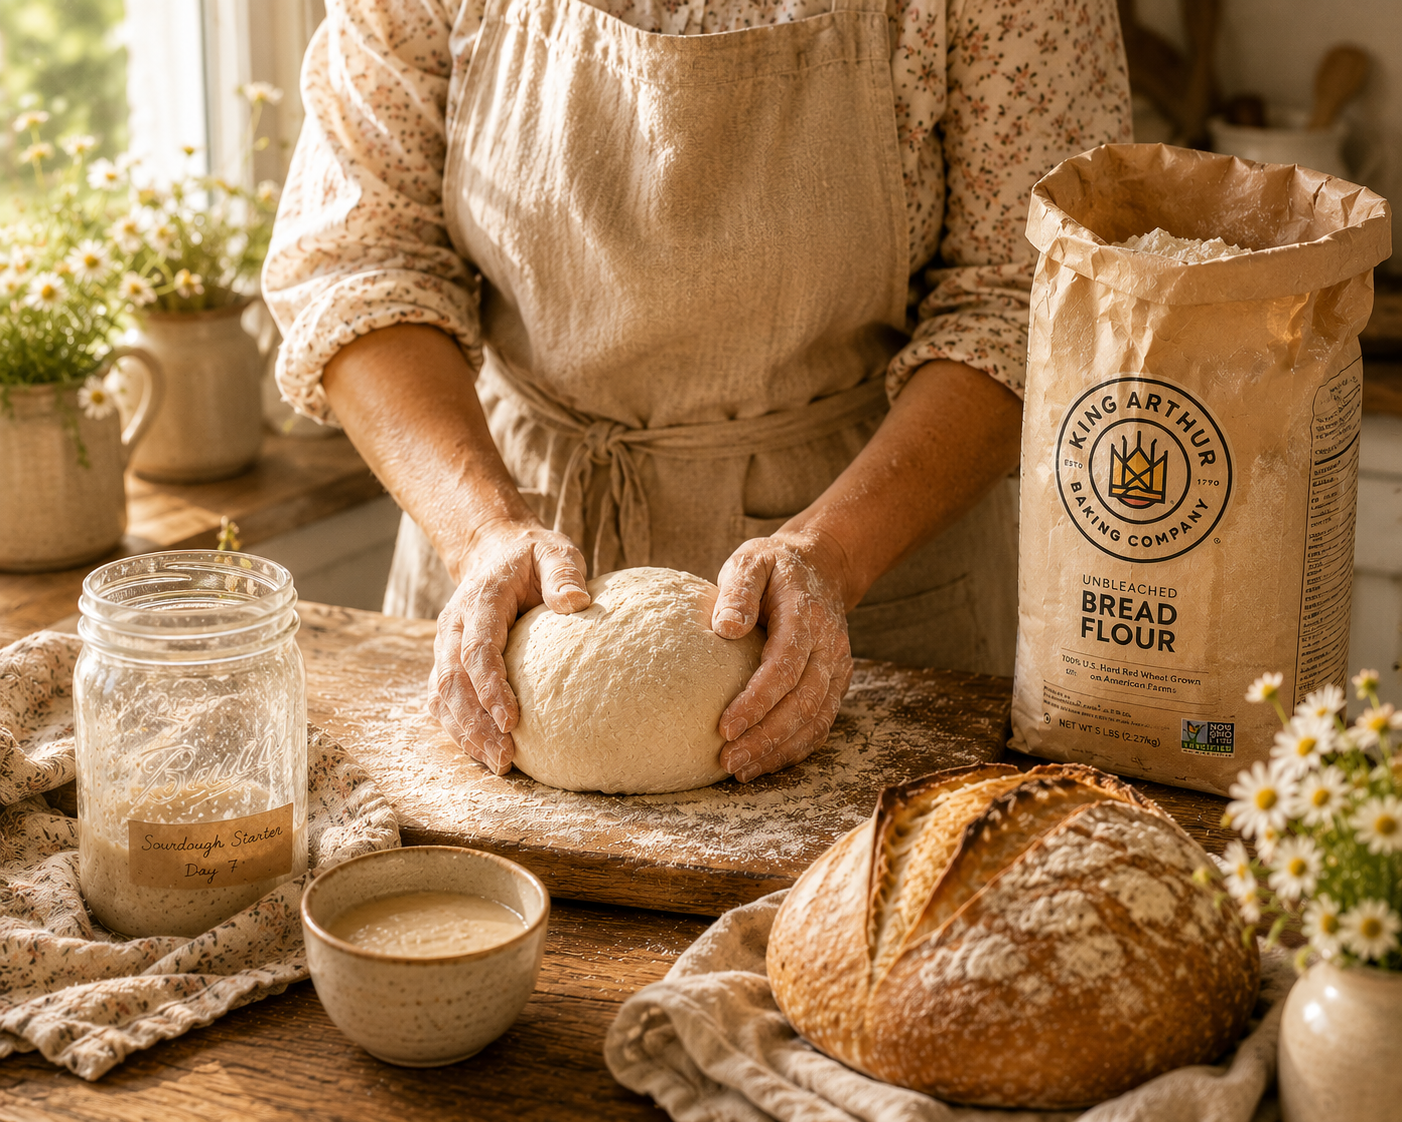
- King Arthur Bread Flour — this is what we use and trust for every loaf and every feeding. We buy ours in the 50lb special blend bags because when you bake as much as we do, it just makes sense. The quality is consistent every single time and your starter will thank you for it.
- Unchlorinated water — filtered or left out overnight if you’re on city water; chlorine can slow things down
- Ball Wide Mouth Mason Jars — real Ball jars, nothing fancy, exactly what we use. Wide mouth makes feeding and stirring easy and you can watch your starter rise right through the glass.
- Kitchen Scale — weight measurements are far more reliable than volume for sourdough. Even an inexpensive one works perfectly and this is the one we reach for.
- A rubber band or piece of tape — to mark your starter’s rise level each day
- A wooden spoon or spatula
- Patience — still non-negotiable 😊
 .
.
How to Start a Sourdough Starter From Scratch — Day by Day
So let’s walk through exactly how to start a sourdough starter from scratch, one day at a time. Here is the simple process we use and recommend for beginners. This takes about 7 days before your starter is ready to bake with — but the active work each day is only about 5 minutes.
How to Start a Sourdough Starter From Scratch — Day 1
In a clean Ball wide mouth mason jar, combine:
- 50g King Arthur Bread Flour
- 50g unchlorinated water at room temperature
Stir vigorously until no dry flour remains. The mixture should look like thick pancake batter. Cover loosely with a cloth or loosely placed lid — your starter needs airflow. Mark the level with a rubber band. Set it in a warm spot, ideally 70–75°F, and leave it alone for 24 hours.
“In the beginning God created the heaven and the earth.” — Genesis 1:1 KJV
There is something holy about beginnings. Every starter, every garden row, every new season starts with one small act of faith. Today, that act is mixing flour and water and trusting what comes next. The first step in how to start a sourdough starter from scratch is simpler than you’d expect.
Days 2 and 3 — Watch and Wait
You may not see much yet. That is completely normal. By Day 2 or 3 you might notice a few small bubbles forming — that is wild yeast beginning to wake up in your jar. Some starters move fast. Some take their time.
Each day, discard half the mixture and feed with fresh flour and water:
- Remove half the starter — and here’s our farmstead pro tip: you never need more than 10 grams of starter to keep things going. Less is genuinely more when it comes to sourdough. Starting small means less flour used at each feeding, less waste, and honestly a healthier more vigorous culture because the fresh flour ratio stays high. On a farmstead we waste nothing — and your sourdough routine should be no different.
- Add 50g fresh King Arthur Bread Flour + 50g fresh water
- Stir well, re-mark your level, cover, and wait
And what do we do with that discarded starter here on the farmstead? If the timing is right, Miss Tunney and the pigs get a little treat. 🐷 Nothing goes to waste out here — not a scrap, not a cup of discard, not a single thing the Lord put in our hands to steward. On a farmstead, waste is just a resource that hasn’t found its purpose yet. Even the discard from learning how to start a sourdough starter from scratch feeds something on this farmstead.
(Not ready to use your discard for baking yet? Check out our full post on what you can do with sourdough discard — we have 8 ideas that will change how you think about that jar in your fridge.)
Do not panic if it smells a little sharp or sour or even unpleasant at this stage. That is normal. The good bacteria are establishing themselves and pushing out anything that doesn’t belong.
Days 4 and 5 — She’s Waking Up
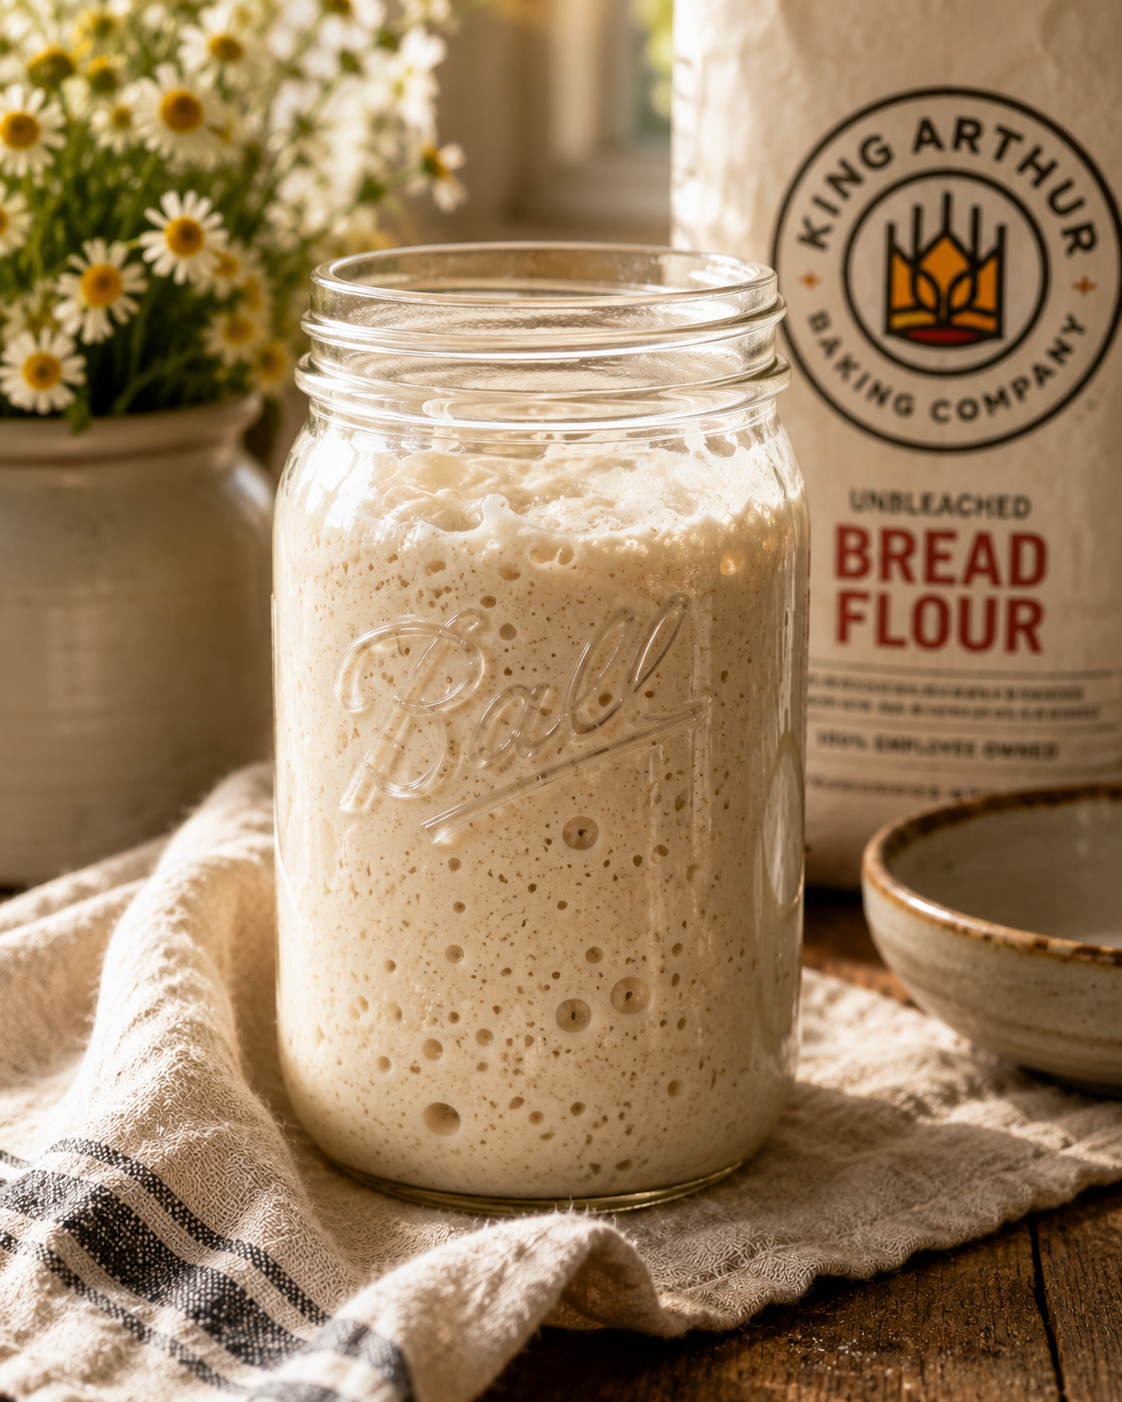
By now you should see real activity — bubbles throughout, a noticeable rise after feeding, and a more pleasant tangy smell developing. This is the exciting part. Your starter is starting to find her rhythm.
Keep feeding once a day. Keep her warm. Keep watching that rubber band line — when she doubles in size within 4–8 hours of feeding and then falls back down, you’re getting very close.
Days 6 and 7 — The Float Test
By Day 6 or 7, your starter should be doubling reliably after each feeding and smelling pleasantly tangy — almost like yogurt or apple cider. This is when you do the float test.
This is the moment you’ve been working toward since you began learning how to start a sourdough starter from scratch.
Drop a small spoonful of starter into a glass of water. If it floats — she’s ready. If it sinks — give her another day or two of regular feedings and try again.
Once she passes the float test, your sourdough starter is ready to bake with. 🎉
We cried a little when Duffy passed hers. We won’t apologize for that. Now that you know how to start a sourdough starter from scratch, let’s make sure she stays healthy. This is the moment every woman who wants to know how to start a sourdough starter from scratch is waiting for.
How to Keep Your Starter Alive and Healthy
Starting your starter is just the beginning. Here’s how to keep her going:
If you bake frequently (several times a week): Keep her on the counter and feed her once or twice a day.
If you bake occasionally: Store her in the fridge and feed her once a week. Take her out the night before baking, give her a feeding, and let her come to room temperature and become active before you use her.
Never let her go more than 2 weeks in the fridge without a feeding. Take her out, discard half, feed with fresh flour and water, let her bubble up, then put her back.
And if you see a gray liquid on top — that’s called hooch. It just means she’s hungry. Stir it in or pour it off, feed her, and she’ll come right back.

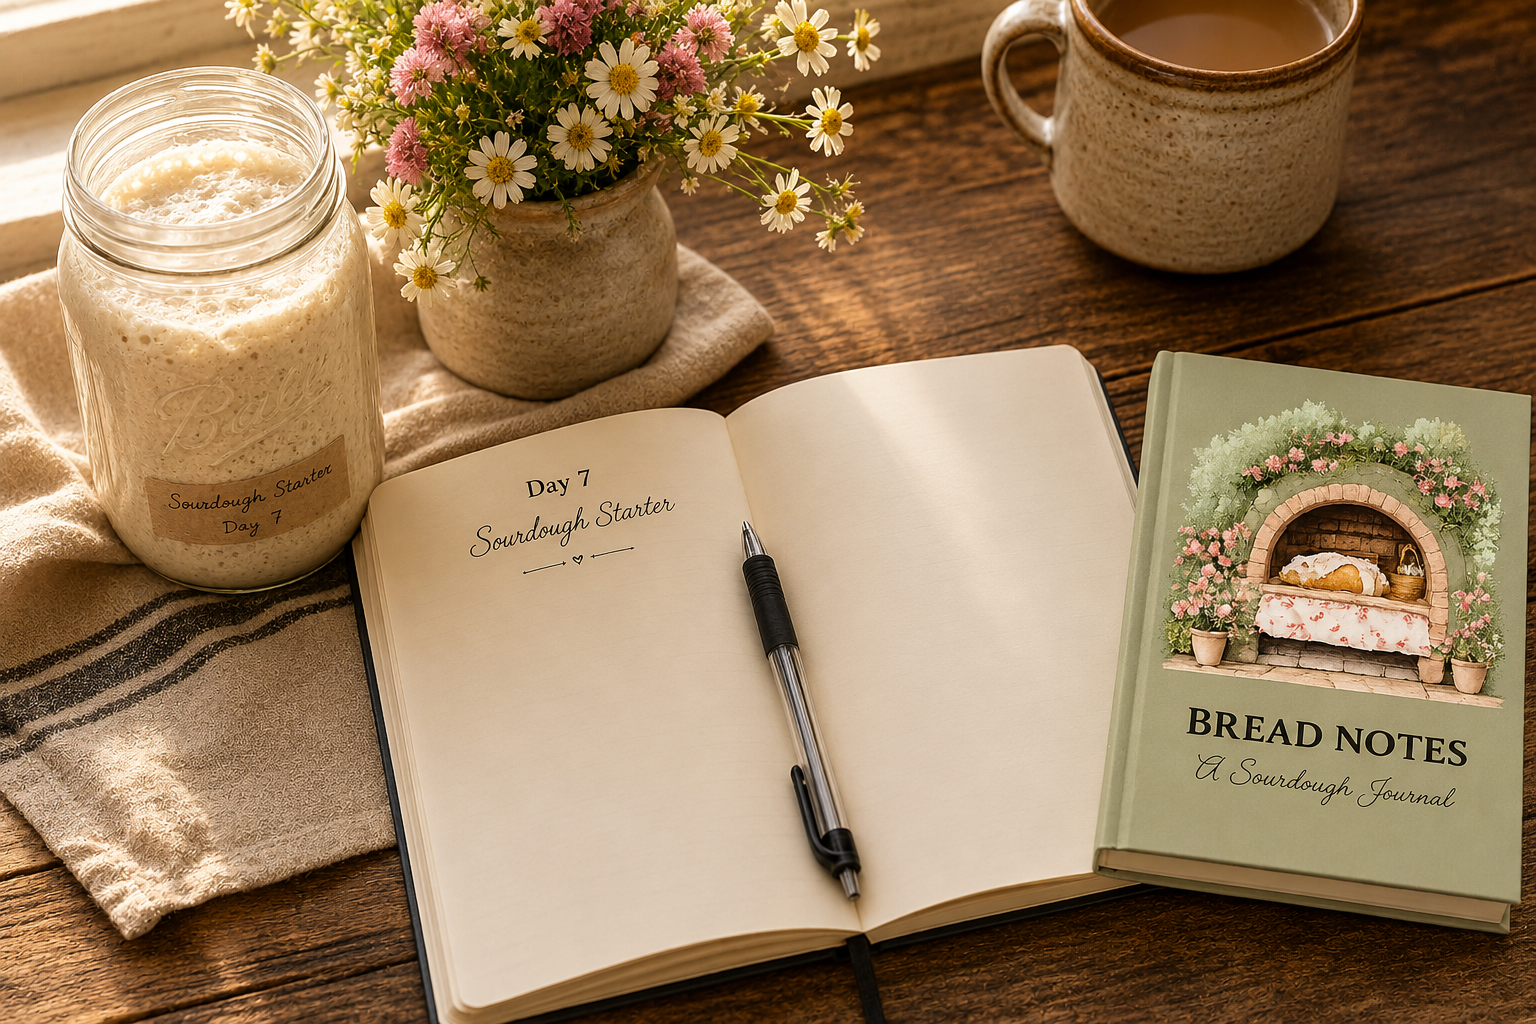
Track Every Step — Our Bread Notes and Daily Dough Journals
Here’s something we learned the hard way — when you’re new to sourdough, you will forget what you did that made that one loaf absolutely perfect. The hydration level. The flour ratio. How long you let it ferment. The little tweak that changed everything.
That’s exactly why we created our sourdough baking journals — a dedicated place to track your feedings, record your recipes, note your tips and tricks, and celebrate every win along the way. Because sourdough baking is part science, part art, and part just paying attention — and the women who get really good at it are the ones who write things down. Whether you are just learning how to start a sourdough starter from scratch or you’ve been baking for years, keeping a journal makes all the difference.
We have two beautiful options in the shop right now:
🌾 Cream Bread Notes — Sourdough Baking Journal — a hardcover bread baking log book and starter tracker made for the homestead kitchen. Classic cream cover, beautiful inside, practical and pretty all at once.
🌾 Blue Bread Notes — Sourdough Baking Journal — the same thoughtfully designed journal in a gorgeous blue cover. Perfect if you want something a little different on your kitchen shelf.
Both are designed for the home baker who wants to do this well, build real skill, and actually remember what she did last time that made the loaf so perfect. Grab whichever one speaks to you and start filling her up from Day 1. 🌾
A Word From the Farmstead
When our first batch of starter didn’t make it back in February, we almost let discouragement win. But we tried again — and that second attempt became Duffy. She’s been feeding this family and blessing this kitchen ever since. We get asked how to start a sourdough starter from scratch more than almost any other question.
Friend, if your first starter doesn’t make it — try again. If it takes longer than 7 days — keep going. If it smells weird on Day 3 — that’s normal. The land teaches us that not everything grows on our timeline. Some of the best things take longer than we planned.
“And let us not be weary in well doing: for in due season we shall reap, if we faint not.” — Galatians 6:9 KJV
That verse was written for farmers. And for sourdough bakers. And for anyone who has ever tended something living and wondered if it was going to make it.
It’s going to make it. Keep feeding it. 🌾
🌾 Table Challenge
This week’s challenge is simple: start something. Maybe it’s your first sourdough starter. Maybe it’s a conversation you’ve been putting off. Maybe it’s a dream you’ve been feeding in your heart but haven’t acted on yet.
Whatever it is — mix the flour and the water. Mark the jar. Set it in a warm place. And trust that the God who makes things grow will do what only He can do with what you’ve placed in His hands.
Learning how to start a sourdough starter from scratch is one of the most rewarding things you can do in a farmstead kitchen.
Come back and tell us how Day 1 goes. We mean that. 🌾
If this post stirred something in you and you want to go deeper into the rhythm of farmstead baking, come visit the Quiet Nook — it’s full of journals and resources made for women who want to slow down, be intentional, and tend the things that matter most.
And if you’re new around here — welcome home. The Farmstead Chronicles is our Thursday gathering place — faith and farmstead life woven together every single week. We’d love for you to pull up a chair and stay a while.
We hope this guide gave you everything you need to know how to start a sourdough starter from scratch with confidence.
👉 Follow along at plrandgoods.com
In His Love, Promised Land Ranch and Goods. 🌾