Farmstead Chronicles
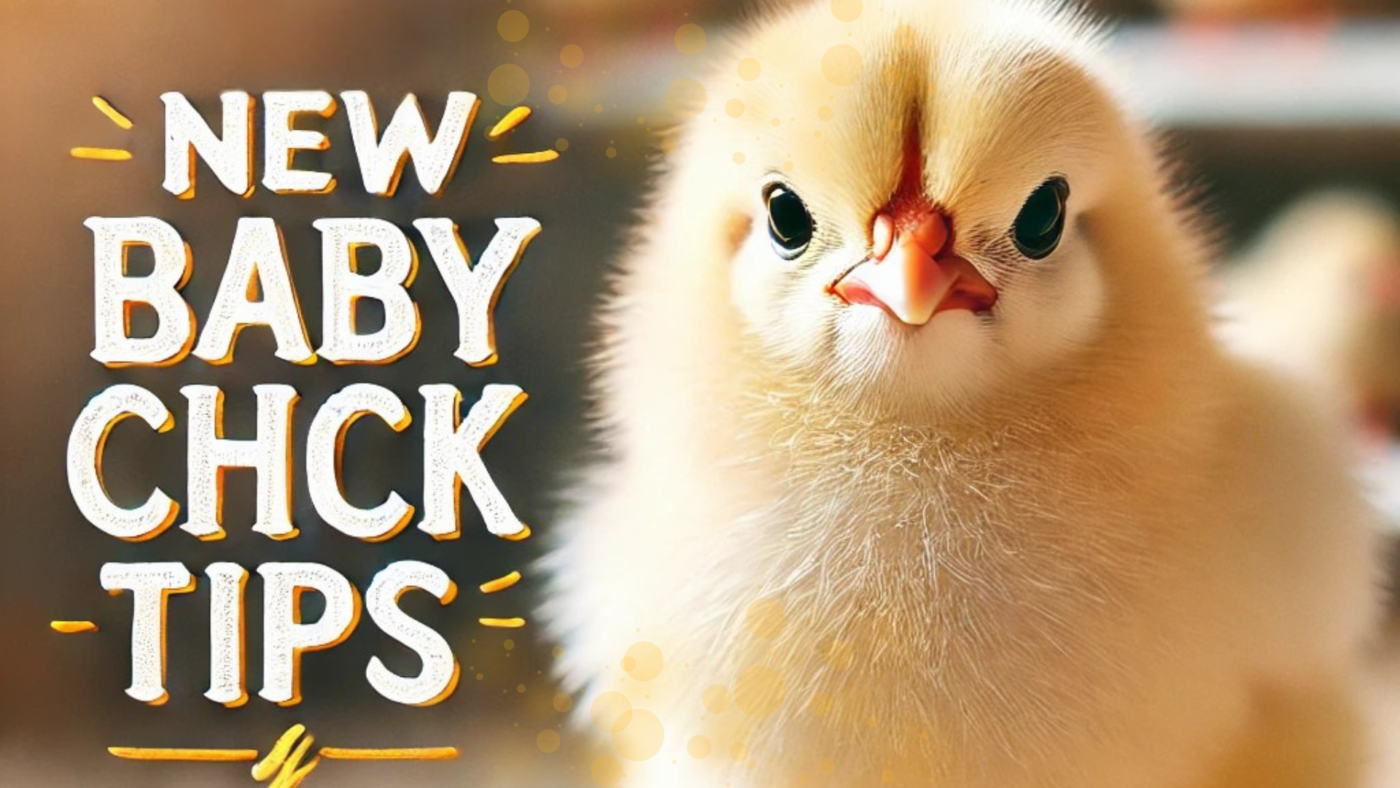
Ultimate Spring Chick Care Guide: How to Raise Baby Chicks for a Healthy Backyard Flock
Feb
Spring Has Sprung: Your Cheerful Guide to Raising Happy, Healthy Baby Chicks 🌱🐣
Oh, springtime… when the mud gets deeper, the days get longer, and tiny fluffballs start chirping their way right into our hearts. If you’re welcoming baby chicks this season—whether it’s your first flock or your hundredth—you’re stepping into one of the most joyful parts of homesteading.
Let’s walk through everything you need to know to raise confident, thriving chicks (and maybe laugh a little along the way—because let’s be honest, they’re cute, but they’re also tiny chaos with feathers).
🌡️ Step 1: Set the Stage — Preparing for Your Baby Chicks
Before those little sweethearts even hop into your pickup basket, make sure their new home is ready.
Build the Brooder
Think of a brooder as the nursery—minus the mobile and plus a whole lot of pine shavings.
Use a cardboard box, plastic tote, or a store-bought brooder. Just ensure:
Warmth without drafts
At least 0.5 sq ft per chick (and more as they grow)
Sides high enough to prevent tiny great escapes
Chicks become Olympic jumpers at about day 6. You’ve been warned.
Dial in the Heat
Baby chicks can’t regulate their temp yet, so your heat source is their lifeline.
Week 1: 95°F
Reduce by 5°F each week until they’re fully feathered
Use a heat lamp or brooder plate—plates are safer, lamps are cheaper
Watch their behavior:
All huddled together? Too cold.
Spread far apart like they’re irritated with each other? Too hot.
Milling around chirping happily? Nailed it.
Choose the Right Bedding
Stick with:
Large pine shavings
Chopped straw
Shredded paper
Avoid cedar shavings—they smell great to us but wreak havoc on tiny chick lungs.
🍽️ Step 2: Feed & Water Like a Pro
Starter Feed
Find a high-quality chick starter with 18–20% protein. Their little bodies are doing Olympic-level growing right now, and they need the good stuff.
Fresh Water
Always room-temp, always clean.
When chicks arrive, gently dip each beak into the waterer—it’s like showing them where the juice bar is.
Tip: Add small pebbles or marbles to the water tray for the first week so no one accidentally goes swimming.
🩺 Step 3: Monitor Their Health (Tiny Clues Matter!)
Chicks speak in chirps and body language. Pay attention to:
Energy levels
Poop consistency (welcome to chicken parenting 😂)
Breathing sounds
Social behavior
And keep that brooder clean—moist bedding breeds bacteria faster than you can say “uh-oh.”
Your nose will usually be the first to tell you—trust it.
🏡 Step 4: Moving to the Big Coop
At 6–8 weeks old, chicks graduate from the brooder to the coop—as long as they are:
Fully feathered
Able to handle nighttime temps
Strong on their little legs and perching well
Coop requirements:
Secure from predators (everything wants chicken nuggets)
Ventilated but draft-free
2.5–3 sq ft per bird if confined
More if free-ranged
Introduce them slowly so the transition feels like a fun field trip, not a shock.
💛 Final Thoughts: Springtime Hope & A Growing Homestead
Raising chicks isn’t just a farm task—it’s a hopeful reminder that new beginnings are always possible. Each little peep is a promise of future eggs, happy mornings, and a thriving homestead.
If you ever need help along the way—whether it’s chick care, homestead recipes, or learning the ropes—come visit us over at Farmstead Chronicles on PLRandGoods.com.
We’re building a community where farm life, faith, and simple joys meet.
🌱 Stay Connected With Us
If today’s post blessed you, made you smile, or even sparked a new idea for your own home and homestead, we’d love to hear from you. Reach out anytime — your stories and questions mean more than you know.
And if you’d like weekly encouragement, recipes, farm updates, and devotional moments delivered straight to your inbox, you’re invited to join Grace Notes, our quiet little corner of hope and joy.
👉 Sign up here: